Once an instructor has required LockDown Browser for an exam, it is very easy for students to download, install, and use LockDown Browser to take their online test. The following steps guide a student through the process. Instructors can provide steps 1 through 4 of this article to students for guidance if necessary.
1) Download & Install
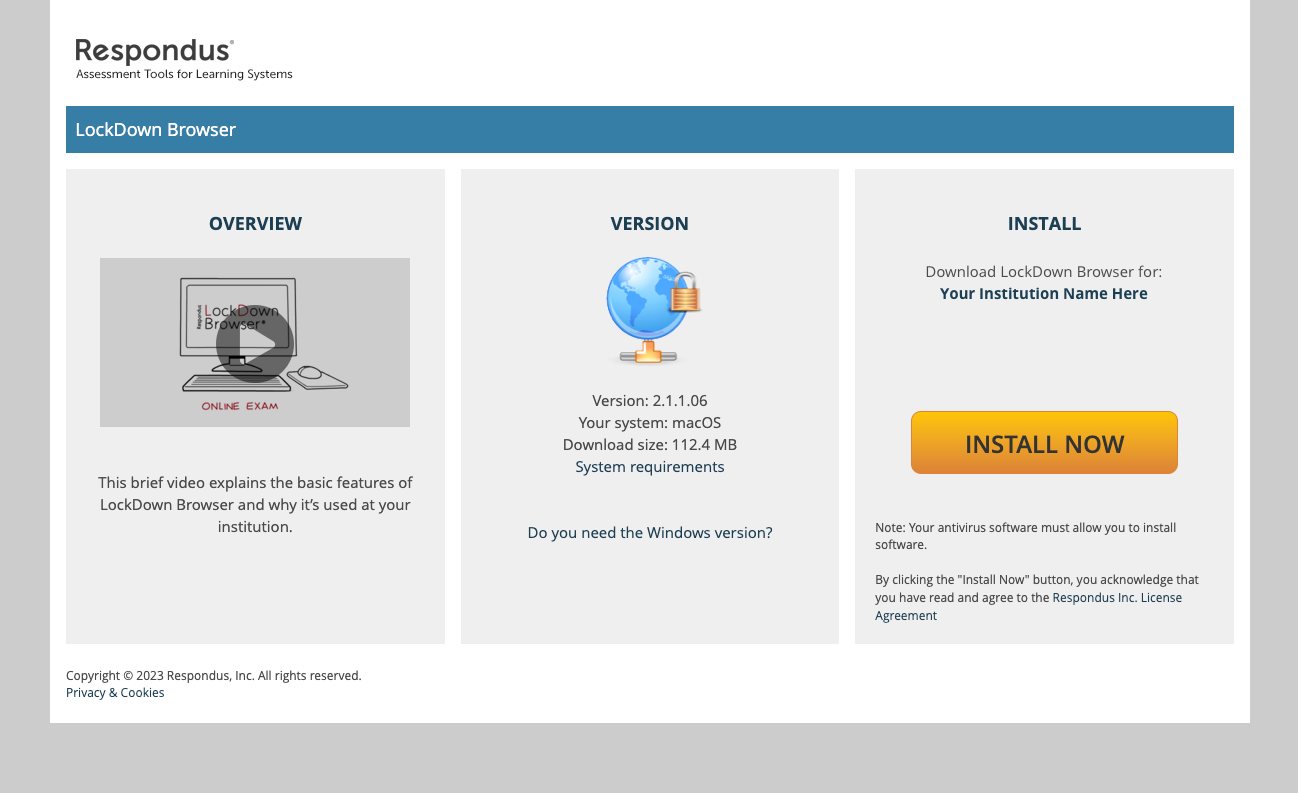
If students are required to install LockDown Browser themselves, they’ll receive a download URL unique to that institution. From that link, the student can confirm system requirements and whether to install the Windows or Mac version of the application. They can also view a quick video that explains the software. iPad users can install the LockDown Browser iPad app from the App Store. Instructions for using the iPad app can be found here. (Note that instructors can determine if iPad use is allowed in the LockDown Browser settings.)
The installation process is fast and easy, and the browser only needs to be installed once to a computer.
2) Start the Browser
To start LockDown Browser, locate the “LockDown Browser” icon on the desktop and double-click it. (Mac users can find it in their Applications folder.)
![]()
Alternatively, Windows users can go to “Start", locate "All Programs,” select “Respondus,” and click “Respondus LockDown Browser.”
Some learning systems require that students first open a standard browser, log in to the course, locate the exam, and then use the "Launch LockDown Browser" button. This will automatically launch LockDown Browser. Students can then start the exam (Step 4 below).
3) Login to Course and Select Exam
At start-up, LockDown Browser will automatically go to the login page for the institution’s learning management system. Students simply log in and navigate to the exam, just as they would in a regular browser.
Note: If a student tries to access the exam using a regular browser, they will encounter a message indicating that they must instead use LockDown Browser.
4) Taking an Exam
Once the exam has started, students are locked into the exam. They’re unable to print, copy, go to other web addresses, or access other applications on the computer. Web searches, instant messaging, minimizing the browser, and hundreds of other functions are also prevented. Once the exam is completed, students are permitted to exit the browser and their computer will return to its normal state. If a student needs to exit the exam before submitting it, for example in case of an emergency or internet failure, they are required to enter a reason for exiting the exam early. (Instructors can then view this within the LockDown Browser dashboard.)
Two Additional Tips
To make the student experience go smoothly, we recommend that instructors create a brief, non-graded exam that requires the use of LockDown Browser, to be taken prior to any graded exams. The practice exam will familiarize students with the software and ensure that it has been installed properly.
Another helpful tool is the student version of the LockDown Browser Student Quick Start Guide, found in LockDown Browser Resources. It’s just one page and can be easily distributed from the online course.